
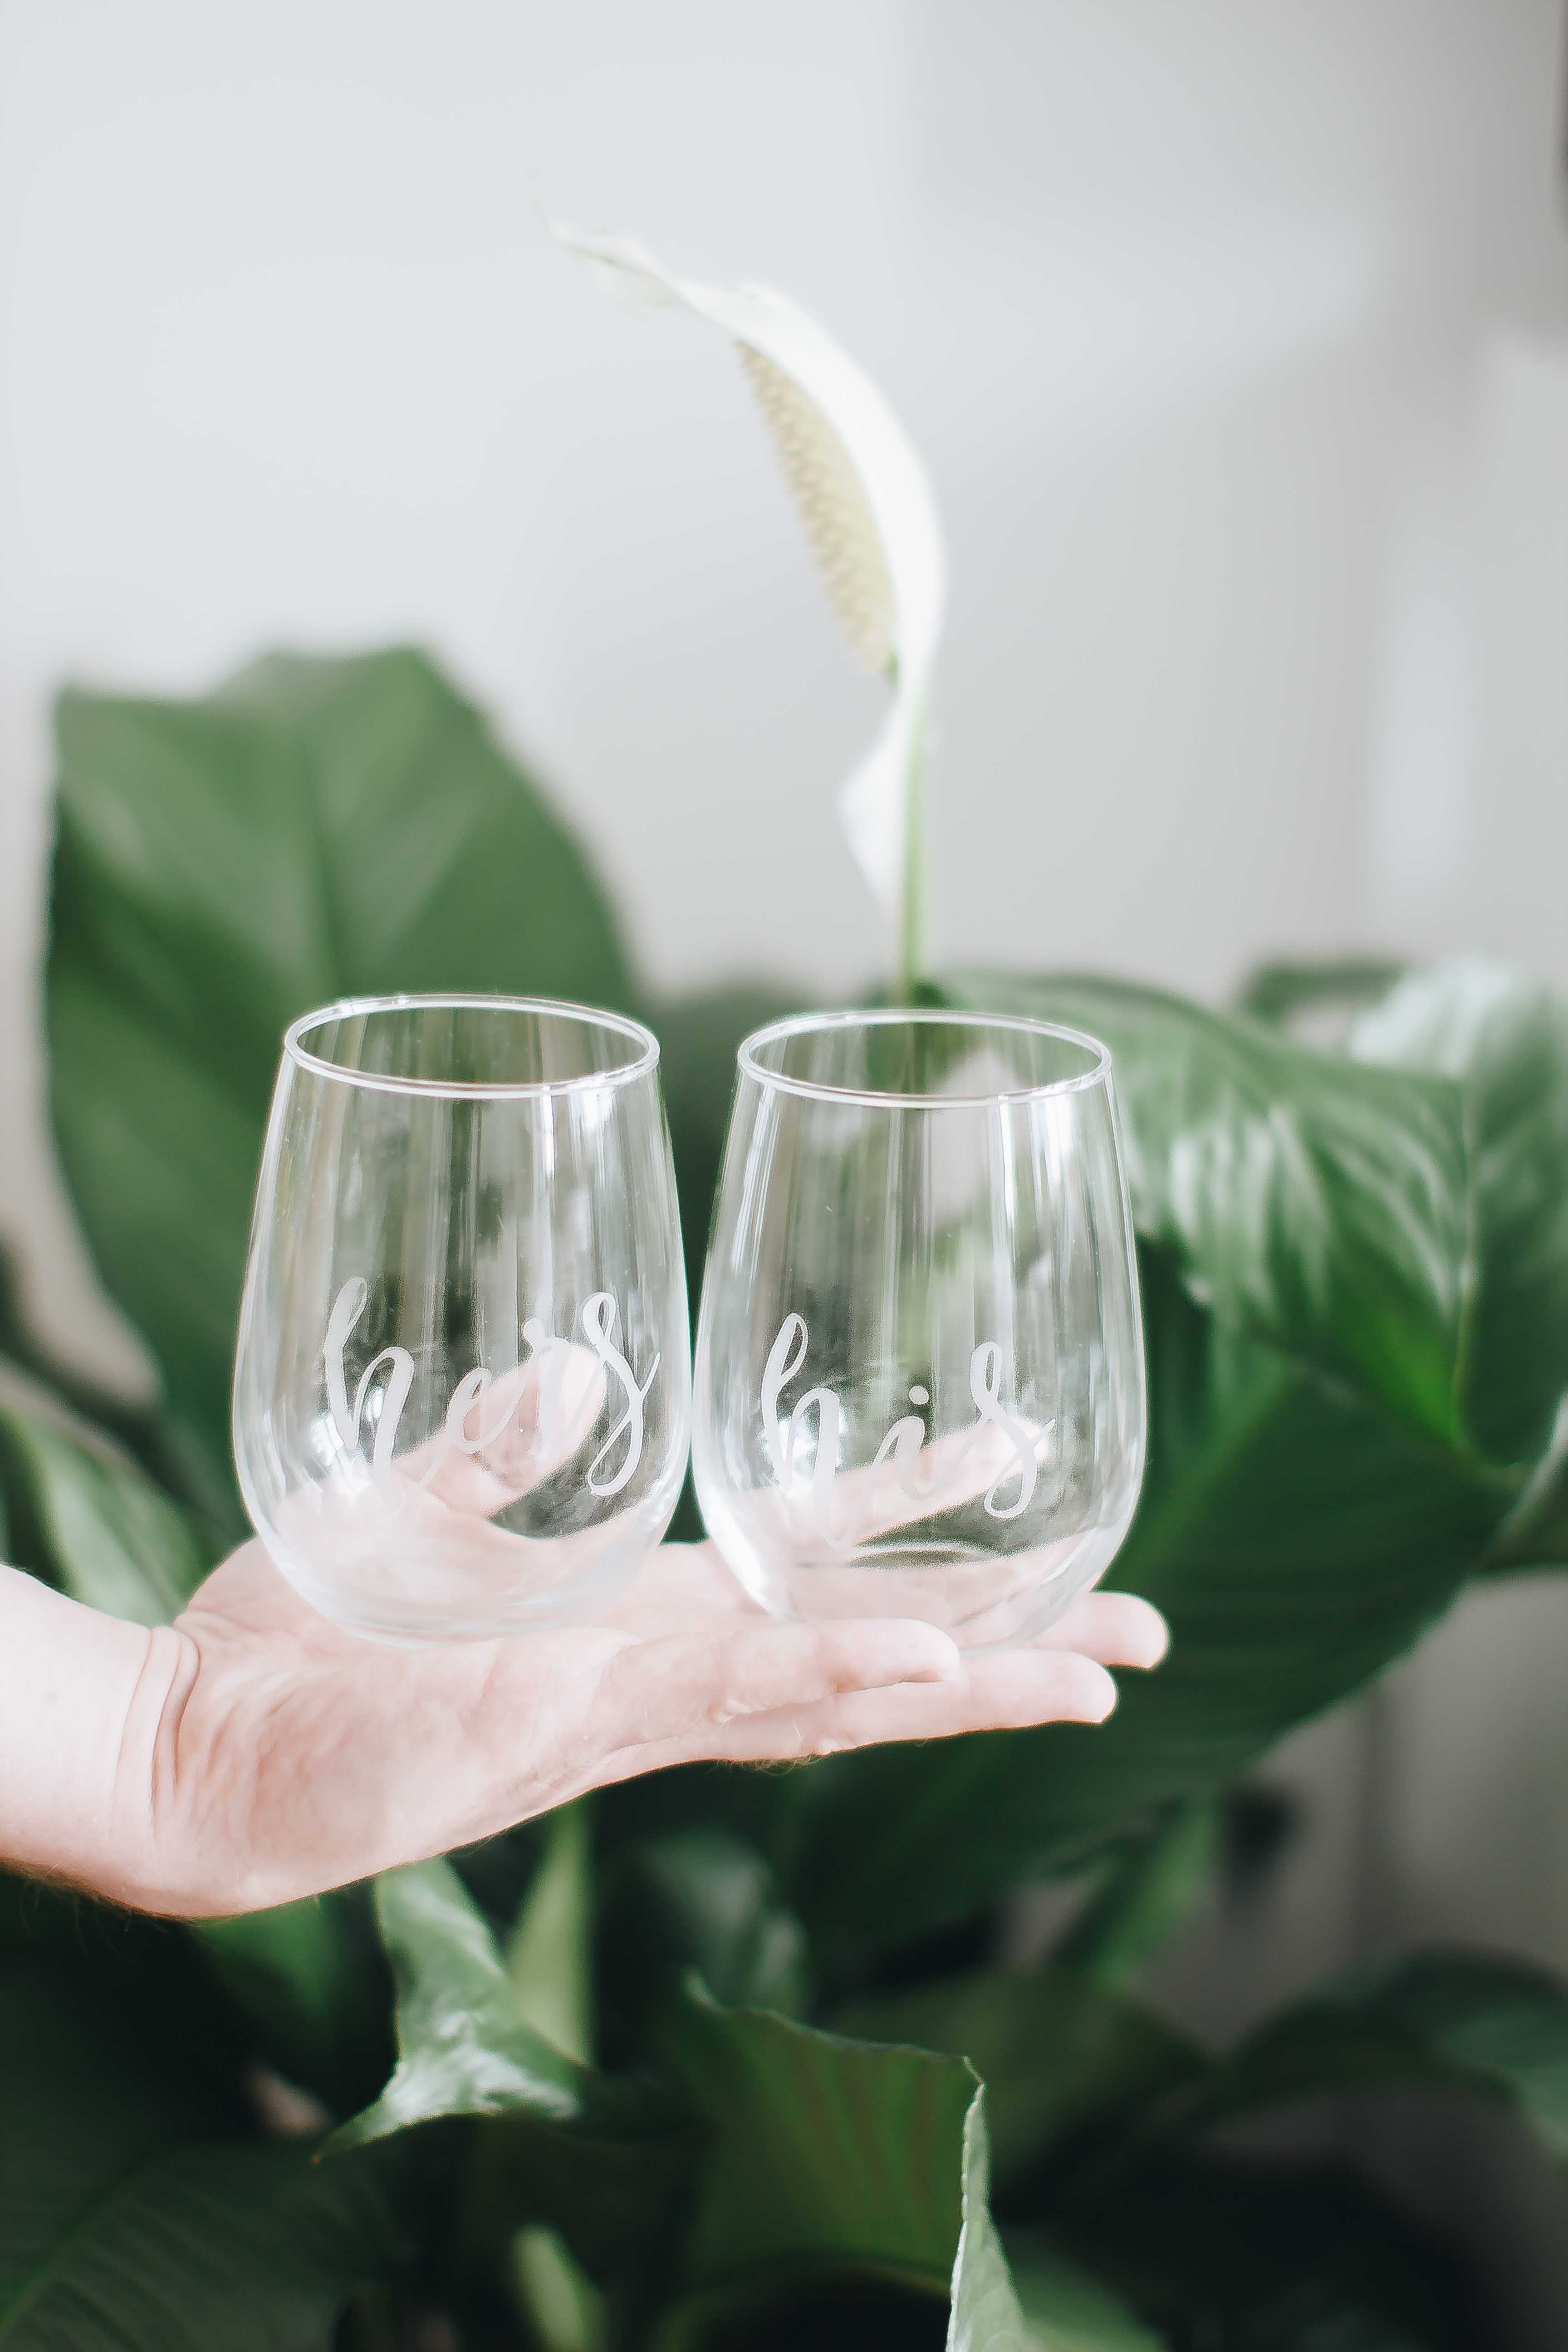
As some of you may already know I recently moved to Brooklyn! A few days ago I unpacked the kitchen box., which was mainly glasses. How does one accumulate so many glasses?! When you make so many cocktail recipes you buy a lot of glasses, that’s how. I found these stemless wine glasses in the box and I was just itching to spruce them up. I thought: customized glasses, and here we are! Etched glass is not as difficult as it sounds and all it cost me was about $12. Want to try it for yourself in a few easy steps? – read on!

What I did was I basically made a stencil of the words by cutting out my hand-lettering on sticker paper then painting on etching cream onto the negative space. Since this tutorial contains the printable of the words you don’t need to do the hand lettering. And if you have a craft cutter this is going to be super easy for you. If not, you’re going to need an exact knife. The DIY will take you slightly longer in that case, but still easy nonetheless!
Remember to grab you free printable before you go on with the rest of the DIY.


what you need:
glasses (I used these stemless wine glasses)
etching cream
paintbrush
if you have a craft cutter (eq. cricut): sticker paper/vinyl
transfer tape
if you don’t have a craft cutter:
exacto knife
stencil paper
the how-to:
step one: The first and most important thing is to download the free bonus files for this DIY. If you’re going to be using a craft cutting machine you don’t need to print the words out, but if you aren’t print the download.
step two: For electric cutter, upload the file into your design program and then cut according to manufacturer’s instructions. If you’re using stencil paper, place the printed design underneath the paper and the use your sharp exact knife to cut the words out in the stencil.

step three: Position your stencil or sticker on the glass, where you’d like the design to be. Secure with tape if necessary.
step four: Use a brush to paint a very thick layer of the etching cream on the negative space on the stencil/sticker and allow to sit for a few minutes to work it’s magic.

step five: Wash of the etching
cream, peel off the sticker/stencil and voilà! All done!

You can do so many different things with this technique! Why not DIY some champagne glasses for the couple’s toast at a wedding? Or maybe a nice customized glass as a gift for a friend?


