
Because I love you guys so much, here’s 4 FREE phone wallpapers to officially welcome the month of love. Just click on the links, right click and save. Enjoy!


I have a very serious fixation with triangles. It’s something even my mother noticed when I was a child. But it’s a very valid fixation – triangles are a creative’s best friend. The clean lines and sharp angles make any design look 100x better – case in point, these freebies.
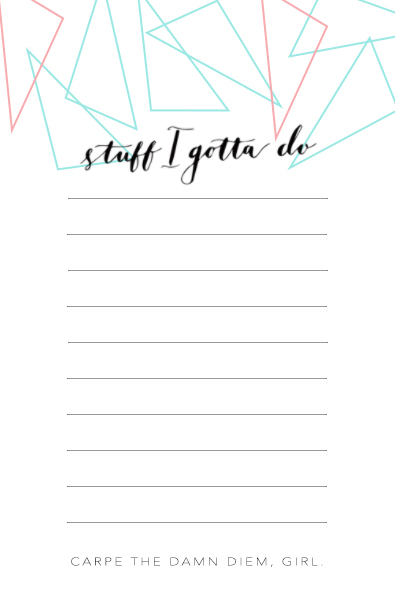
Both of these feature my new favorite saying, “Carpe the damn diem, girl.” (This may or may not be my email signature).
*This iPhone wallpaper is available at my Etsy shop ($1.99) it is no longer free for download 🙁 (It was for one day only on 11/16)

The To-Do list is a great way to get organized for the day – print 2 copies on one A4 paper and enjoy using the to stay organized! Unlike the iPhone wallpaper, this printable will be available for download any time. Click here to download.
p.s. This week I’ll be doing a DIY post on how to make the geometric mug you see in the picture above – so dope, right?
I hope you enjoy these – I know I will. Show them off on Insta/Facebook with the hashtag #essiedoessummer and I’ll show you some social media loooove.


There’s nothing like a handmade greeting card to make someone feel special. When I have nothing else to do I (let’s face it, I mean procrastination) I make cards and wait for an occasion to pop up where I can send one to somebody. Speaking of pop-up, these cards were inspired by a sweet little card I saw in a bookstore near Columbia University.
This is an easy DIY and it’s pretty much zero effort if you additionally have an electronic cutter. I recently got myself a Cricut machine and I’ve been going crazy with it. I’ve cut out about everything from all colors of paper – sue me.
Anywhoo, in this tutorial I’ve included some FREE printables that will help guide you if you do not have an electronic cutting machine. I’ll be showing you how to make a whopping TWO cards so Go on and get to creating!
What you need:
-Cardstock (preferably something with much more weight that ordinary paper)
-Exacto knife – you won’t be needing this if you have a cutting machine
-Glue
-Colorful gift tissue
-Large hole paper punch
-Gold paint
-Small paint brush
Step 1:
For card one (left in the image of the two cards), click here to download and print your free cutout file. This card is the pop-up card.
For card two (on the right), click here to download and print your free cutout file. This is the confetti filled-card.
Step 2:
If you have an electronic cutter, go ahead and use to downloaded files to make cuts, no need to print.
If you don’t have a cutter, this is where your elbow grease will be required. With card 1, cut the entire ‘YAY’ shape out of your yardstick by following the outline. With card 2, cut ONLY the black lines printed on your cardstock. This is so that you have a foldable side on the bottom of the letters.
Step 3:
Get rid of unwanted pieces. Fold card 2 at the bottom of the letters (the area you left uncut) so that they pop out of the card
~~~
The next few steps will be specific to only one of the cards so make sure you’re working on the write one – although there are pictures to guide you so you know.


Card 1:


Card 2:
Whether it’s for a birthday, to say congratulations or just because these cards make an excellent and thoughtful gift. I can’t wait to make more variations and send them to everyone I know! I might be listing these in my Etsy store also, depending on response so watch out for them.
Spread the confetti.
xoxo,
Essie

Be reminded of God’s grace every time you look at your phone screen with this free wallpaper! This verse from Psalm 23:3 is always meaningful especially in those times where we feel worn out by the ins and outs of life.
So go ahead, visit https://www.essiedoessummer.com/product/he-restores-phone-wallpaper and click to download – and remember to share with others!